Many people resort to assembling their own PCs nowadays. If you’re considering the option and it’s your first time, you’re probably asking yourself: how long does it take to build a PC? The answer is far from straightforward, though.
It might take around 6 to 8 hours, excluding the research, especially with the many parts you need to pay full attention to, such as the graphics card, the RAM, and the motherboard. Yet, some people take hours to just choose between the endless options they have when buying PC components. So, it really varies from one person to another.
Yet, I can assure you it’s way more straightforward than that. Making your own computer parts collection is easy as long as you know the track you must be on while choosing your PC segments.
So, I’m here to guarantee you that you’ll become a master in the PC building field by the end of this article! So, let’s see how long it takes to build a PC and the exact stages of the process.
The Short Answer
Researching the budget to allocate according to your PC’s desired performance, buying hardware and installing it, troubleshooting, and installing an operating system are the main steps to building a PC. The building itself can take between 6 to 8 hours. Yet, the research and acquiring the equipment may take much longer, anywhere between a day and a month, really.
The Key Factors and Steps to Building a PC
There are several tasks you need to do to build your PC, starting with research. Determining what you’ll use the PC for and setting your budget are just the start to specifying what components you’ll require. That in itself may take weeks on its own! Let’s find out what happens next!
Step 1: Setting Your Budget and Desired Performance
The budget you set will impact the PC’s performance. Some require a high-end computer as they need it for programming, graphic design, or gaming. On the other hand, others prefer a low-cost PC since they’ll use it for minor tasks, like browsing and typing documents.
Getting a high-end PC will fulfill all your gaming or editing needs. A budget of $200-$250 can get you a low-end PC. However, if you prefer to get a high-end rig, then you should have a budget of $1500-$2000, at least. Take your time to research your budget and desired performance. If you need a full month, take it, because it’ll influence the rest of the steps!
In case you want to invest in a bit more cheap gaming pc , check out the following guides:
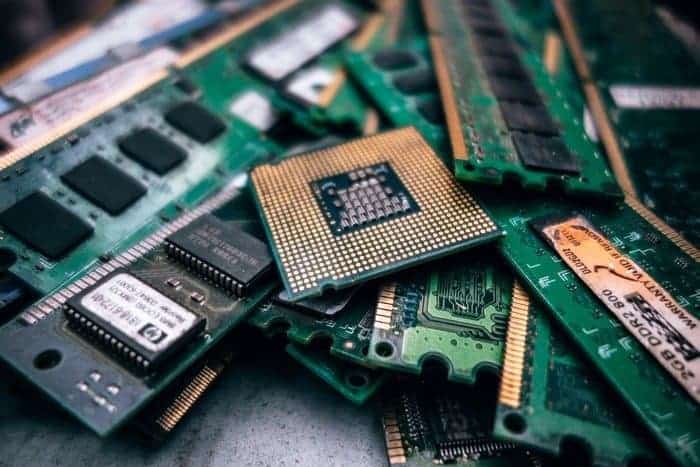
Step 2: Attaining and Unboxing Hardware
Unboxing can take around 5 minutes, but deciding what PC parts you’re going to buy can take an hour or two because you need to make sure everything is compatible with each other. Not to mention, you need to factor in the shipping time if you’re ordering online.
To avoid spending a lot of time gathering hardware, you should use PC builders, which help you check the components’ compatibility quickly.
Buying a Case
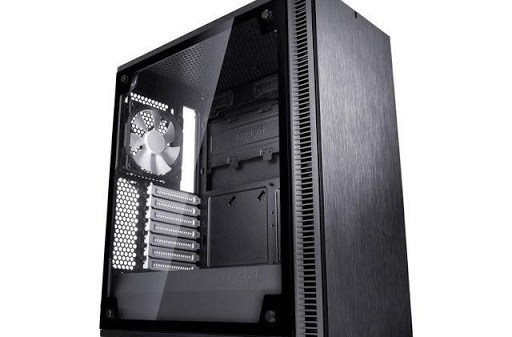
A case is a metal box that contains all the parts you’re going to buy for your PC. The most common case type is called a “tower.” You’ll run into a few types of towers to choose from, such as: full, mid, and micro.
Still, the old PC cases exist, and they might cost less. However, getting a tower will save you many problems as you’ll have better cooling options and a lot of room for the PC components to breathe in.
Choosing your case can take less than a minute if you have a clear vision of the components you’re going to get.
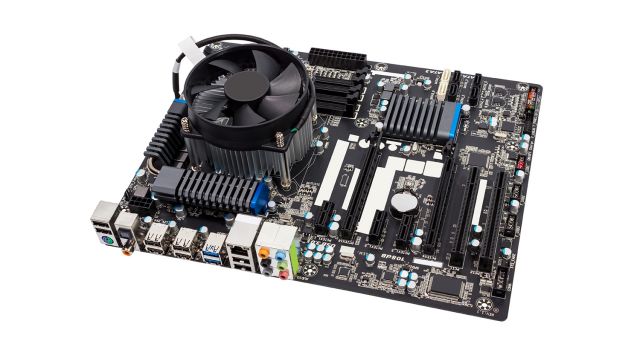
Choosing a Motherboard
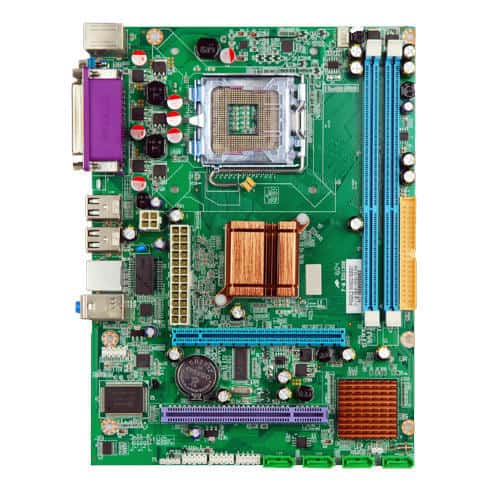
The motherboard is the most vital component in a CPU, as it holds and allows communication between the various parts of a PC. When choosing other parts for your PC, you must make sure that all of them are compatible with the motherboard, or they won’t even fit in it.
To avoid any inconveniences, you must check if the processor is suited for the motherboard CPU socket. Moreover, you have to examine the RAM sockets and ensure they support the type of RAM you’re going to buy.
Don’t think of mixing different RAM types on one motherboard, because only one type is going to fit. You might take up 30 minutes, making sure everything fits.
Picking a Processor
The processor takes care of all the fetching and executing tasks that the PC does. Furthermore, most processors come with integrated graphics cards that can rival some dedicated graphics cards. You must pick a high-end processor if you’re going to use your PC for gaming.
You should give this step around 5 minutes, as you’ll have to choose between Intel and AMD processors.
Intel
Intel processors are renowned for being the best in processors rankings, thanks to their power conservation and outstanding single-core performance. They also handle heat better than their rival. On the downside, they’re costly. Intel processors are also harder to overclock.
AMD
AMD processors are better than Intel ones when it comes to multi-threaded applications. If you add a good cooler to your rig, you might get faster performance. Additionally, they’re more cost-efficient than the Intel counterparts. However, I believe they’re more prone to heating, and they fall behind when it comes to single-core performance.
Also, you can easily overclock your AMD processor by using AMD’s Turbo Boost Technology. Recently, AMD has provided their processors with high-end integrated graphics cards better than the ones that come with Intel products.
Selecting a Graphics Card (GPU)
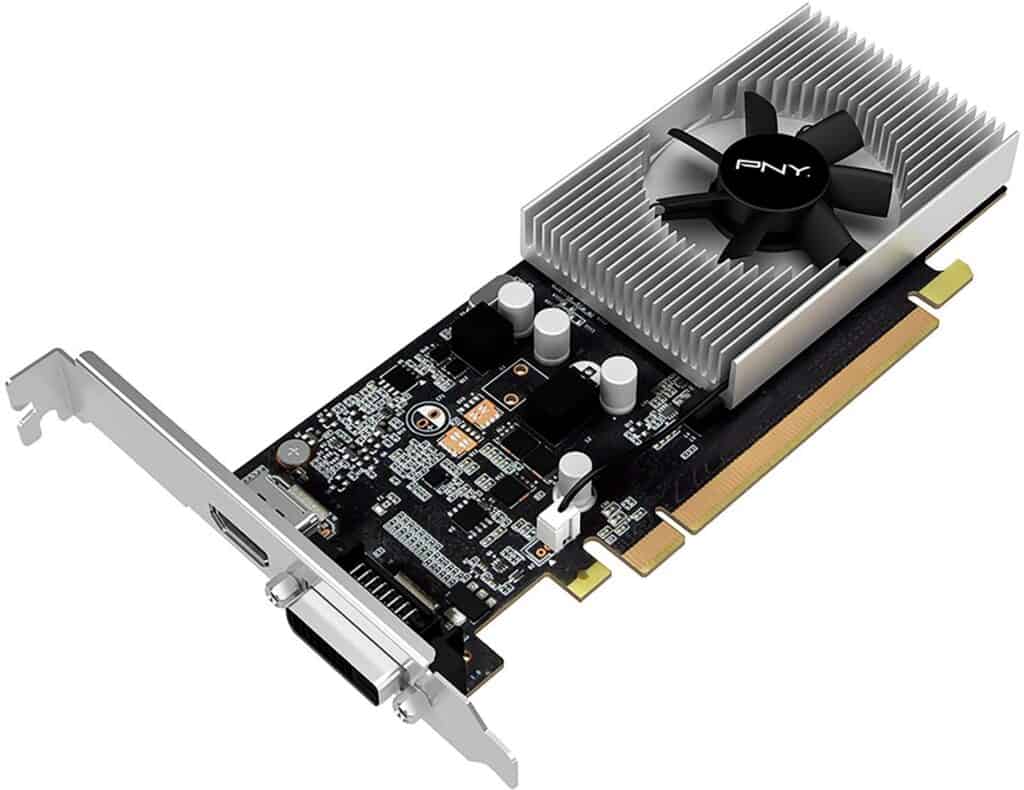
A graphics card is responsible for producing the images you see on a computer screen. It decides how well-rendered the images are going to be. A powerful graphics card is a necessity if you’re going to play games.
If you aren’t getting a PC for gaming, you’ll need a sturdy GPU if you’re going to edit videos or do graphic design. Also, it contributes to playing high-resolution movies and videos.
Dedicated graphics cards are the most reliable type as they use their own dedicated memory to process images. On the other hand, the integrated type uses a portion of the computer’s system RAM, which makes them weaker than the dedicated type.
I recommend Nvidia GPUs because they offer high efficiency and power, in addition to exclusive features like RTX, PhysX, and second-generation tracing cores. You should also take around 3 minutes to pick a graphics card that suits your desired performance.
Determining Random Access Memory (RAM)
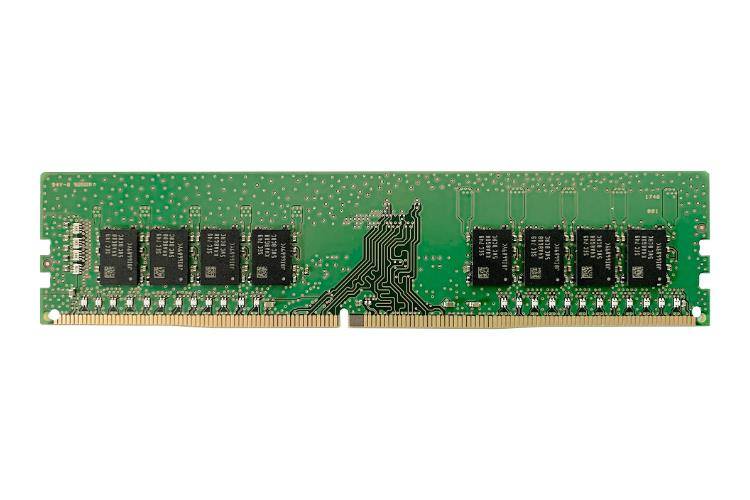
RAM provides storage for applications that need to store their data. It affects performance remarkably. If you have low RAM, your PC’s performance will drop miserably and become really slow, so you should take two minutes to make sure you have enough RAM for the type of work you’re going to do. You should opt for 8 GB RAM, at least.
HDD vs. SSD
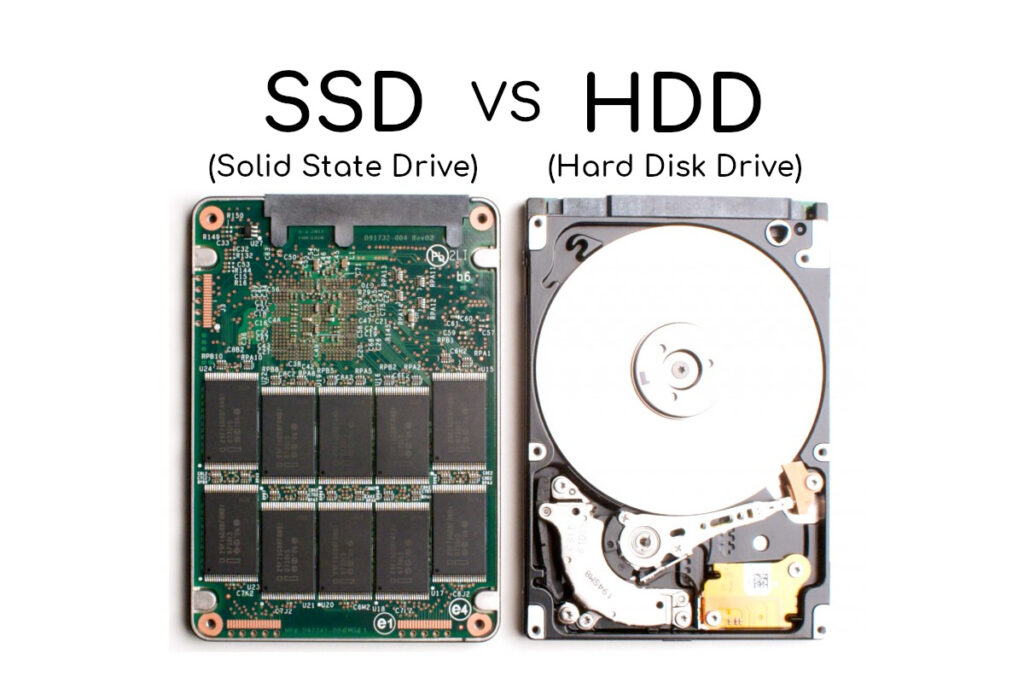
You’ll undoubtedly need a place to store your data. There are two types of drives that you can choose from: hard disk drives (HDD) and solid-state drives (SSD).
HDD is the type that uses the old read/write process to access data, while the SSD is a new type that stores data on instantly-accessible chips. HDDs are cheaper but way slower than their SSD rival. I recommend getting an SSD as the difference in speed is worth the money.
Getting a Cooler
A cooler can be your gateway to a high-performance PC by helping decrease the noise made by fans running at a high RPM. But, their primary function is to reduce the heat inside the case, which allows the various parts of the computer to function better.
If you’re getting a conventional air cooler, then you’ll take less than a minute installing it in your PC case. However, if you plan to install a liquid cooling system, it’ll take you around 20 minutes to set it up.
Power Supply Unit (PSU)
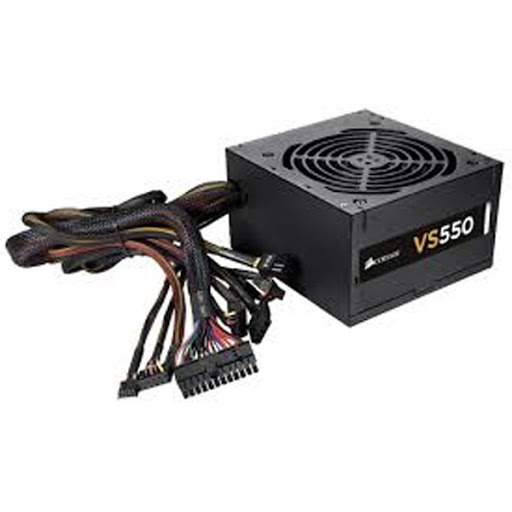
The power supply unit is the little box that’ll provide your PC with electricity so you can bring it to life. PSU affects performance and fan noise, so you must be careful when picking one.
A high-end PC would require around 600W of power. It shouldn’t take more than a minute to calculate how much power your new PC needs.
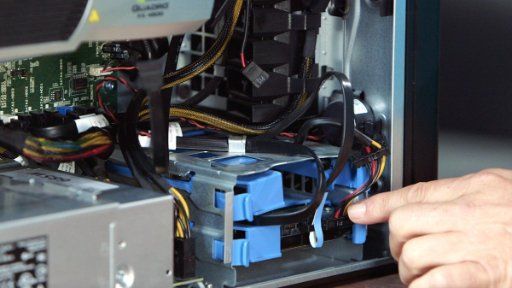
Step 3: Installing Hardware
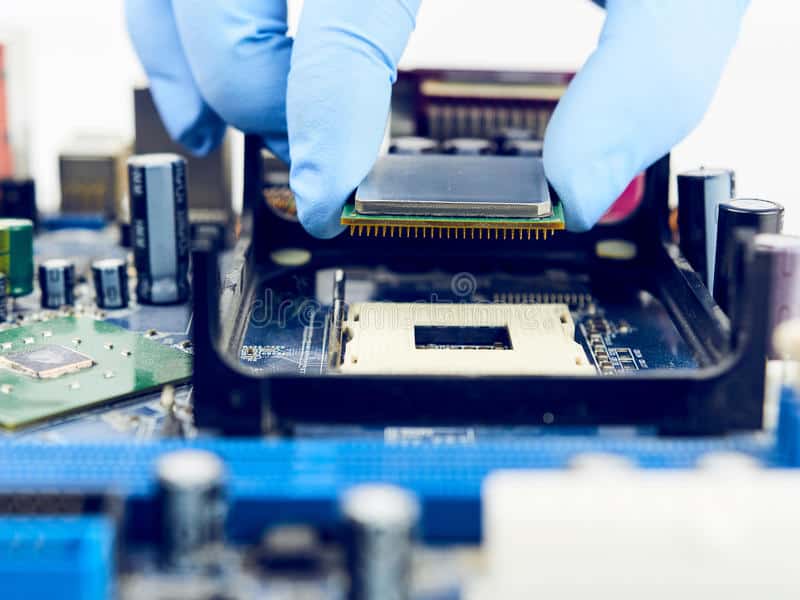
Once you’ve got all the components, start by opening the case, installing the motherboard, and then mounting the hard drives. After that, install the CPU on the motherboard and seat the RAM. Finally, plug the power supply and the cooler and your PC is ready to go.
Seating the parts you’ve bought and installing all your hardware can take 2 hours. Remember, confirm that you’ve placed each part correctly before moving on to the next one unless you want to spend two more hours trying to fix something minor in the cables.
Step 4: Troubleshooting
After installing your hardware, you might run into a few problems when booting your PC up. You might’ve messed up connecting a cable or forgot to turn on the power supply. It could take you an hour trying to find out where the problem is. But, you’ll eventually find a solution.
Step 5: Installing Software (OS)
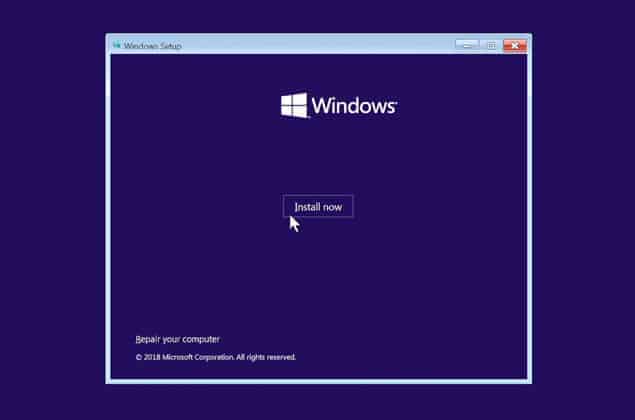
The last thing you need to do is install an operating system for your PC. It takes around 15-20 minutes to install one, but if you’re installing an older version, you might need to wait a few more minutes for them to get installed.
The End of the Road
Choosing the parts that you’re going to buy might take longer than assembling all the pieces in your case. Remember to use PC Builders to help you check products and their compatibility; that’ll help you save a lot of time.
It might take you around 6 to 8 hours to bring your PC to life. But before that happens, the research process and buying the equipment can take the more significant bulk of the process. So, it can take anywhere between a single day to a month, depending on each person.
Also, it’s possible that you may run into some problems while seating the parts, which may take some extra time, but, as long as you follow the steps I’ve mentioned, you’re unlikely to face any inconveniences